
Macaron Tips & Techniques
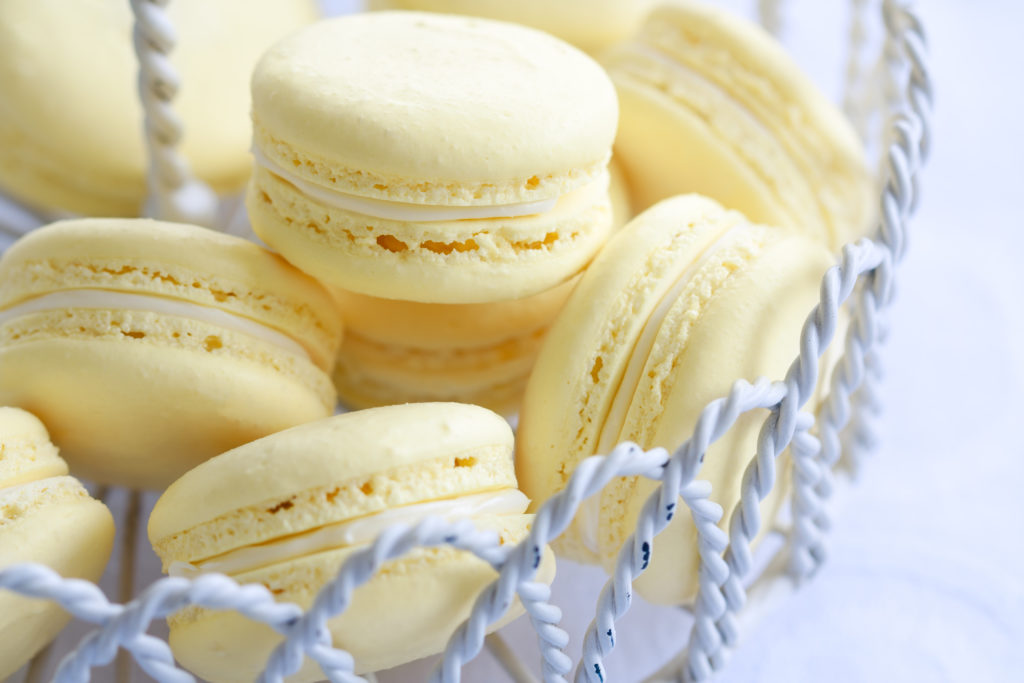
I have been studying the various techniques on how to create these dainty little cookies from France, called “macarons.” Macarons should not be confused with the other cookie by the same name, but different spelling . . . “macaroons”, a coconut filled condensed milk Italian cookie. The French macaron is a light and airy cookie, slightly sweet with a crunchy texture made of meringue and filled with delicious creamy flavorful fillings. They are a bit daunting to make as every step requires precision and even the humidity of your kitchen, or how hot your oven is, can effect how they turn out.
Here are a few things to note:
1. Measuring ingredients is important. Use a kitchen scale to ensure the four ingredients in the shell of the cookie are exact: almond flour, powdered sugar, granulated sugar and egg whites.
2. To achieve the super smooth top and ruffled foot of the cookie shell, the meringue texture is critical for success. A thick, rich meringue is the goal to ensure the best cookie.
3. Be certain that the mixing bowl, beaters and your hands are spotless and free of any oil before whipping the egg whites. Additionally, the egg whites should be totally free of egg yolk.
4. The egg whites need to be whipped slowly at low speed at the beginning of the process. Increase the speed in stages as you add the granulated sugar in three equal amounts.
5. Rich, shiny peaks that look like shaving cream are the goal. This stage takes longer than you might think. The egg whites/sugar mixture is ready when it holds firmly together.
6. At the stage when the meringue is almost ready, add a few drops of food coloring (if you want the cookies colored) and continue to whip until the color it is evenly distributed. Gel food coloring is best over liquid food coloring due to maintaining moisture consistency.
7. Using a spatula, fold the almond flour/powdered sugar mixture into the egg white mixture. Scrape down the sides of the bowl and press the batter against the side of the bowl working in the dry ingredients until the mixture looks sandy. It should not be perfectly smooth since that will overwork the dough.
8. Download a template of circles in the size of cookie you wish to make and print it out. There are many options for templates on the web. Place the template under a piece of parchment paper. It helps to keep the paper secure by placing a dab or two of batter on the underside corners of the paper.
9. The baking sheet should be flat with no edges for even heat circulation. If you don’t have an edgeless cookie sheet, take a regular baking sheet and place it upside down before adding the cookies on a piece of parchment.
10. Once the batter is in the piping bag, be certain to hold the bag in your dominate hand straight up and squeeze downward as you pipe the batter in a circle. Don’t hold the bag at an angle. Lastly, don’t pipe all the way to the edge of the template design. Allow the batter to spread out and fill out the circle on its own.
11. To reduce air bubbles and dimples in the pipped cookies, tap the pan gently on the counter to smooth and even out the tops. Use a toothpick to pop any remaining bubbles from the tops of the cookies.
12. Check your oven temperature to make sure it is baking at the appropriate temperature. Watch closely as the cookies bake in a low oven, 300-310 F. degrees. Turn the pan once in the process to ensure even baking. They are done when you touch the tops very lightly with a spatula and they no longer move.
13. Allow the pan to cool before you slide the parchment sheet off. Make certain the cookies are completely cool before gently peeling away from the parchment. Handle with care as they are very delicate and can be easily cracked if pressed too hard.
14. Make the filling using your favorite buttercream recipe, adding specialty flavored syrups, or use fruit jams, citrus-flavored curds, or chocolate ganache. Products for fillings can easily be found online, or at the grocery store.
15. Once filled, allow the shells to sit in the refrigerator for at least 24 hours before eating. The texture needs to be chewy and moist and they do improve with age. The maximum amount of time in the refrigerator is 5 days before consuming.

16. The shells can also be frozen before filling.
17. Remember that this type of cookie takes practice and perfection will come with repeated sessions. Your efforts will be worth it once you bite into these tasty sweet treats.
If you want to learn more, there are many books, videos and online articles about macaron techniques to access. Or, even better, take a class in your community where when you can actually experience how to incorporate the techniques you’ll learn. Search on the Internet for macaron classes.
I would love to hear how your cookies turn out! Cuisson heureuse (happy baking!)
PREVIOUS POST